


When creating electronic designs often we use the bread board. Nevertheless, we would like that our project would took a more permanent form. In such case we may transfer our project to PCB. Best of all is that everyone can prepare such board at home.
Materials:
Laser printer
Chalk overlay paper
Laminate
Solvent
Iron
Drill
Marker for pcb (optional)
Whole proces starts in the computer where we prepare our project. Personally, for this purpose I use Eagle software in version 6.6.0 https://www.cadsoftusa.com/download-eagle/ although in internet there are many solutions of this type. After creating project similar to this:

We go to the view of the board where we can deploy our individual components. When we feel that everything is as it should be select Tools → ratsnest to calculate the shortest path between components. Then choose Tools → Autoroute. We will see option panel. Eagle allows you to define 16 paths for board on many levels personally I never used more than two, Top and Bottom. For single-layer board select only the top. When you click ok eagle will automatically create us paths such as this.


If we want to reduce the track width or spacing between tracks or size of the holes we can set it in Edit → Net calsses. Let us remember that the smaller the track the more chance that we damage it with careless movement during drilling or soldering. Personally, I have set the path for width: 25mil; drill: 20mil; clerance: 20mil.
Thus prepared project is ready to print. We make sure to print on a laser printer if you do not have one you need to get help from colleague or use printing services. In my case, I use LaserJest HP P1505. Used paper need to be Chalk overlay paper. Grammage in my opinion is not of great importance I just buy what there actually is in a nearby stationery shop. Apparently the paper from the slick magazines is equally suitable, but I never tried this theory. It should be remembered that the imposed on the laminate project will be its mirror image. Eagle has options for printing mirror images.
The next thing is laminate. Unfortunately, many times purchased dimension will not answer our needs. Thats why we have to shorten it. One of the ways is to make deep incisions on laminate and then break tiles like this: httpss://www.youtube.com/watch?v=wFGp2oWZBTM. But in my humble opinion best to use following popular horror series hero, a whole goes much more pleasant, grinder probably also would be ok
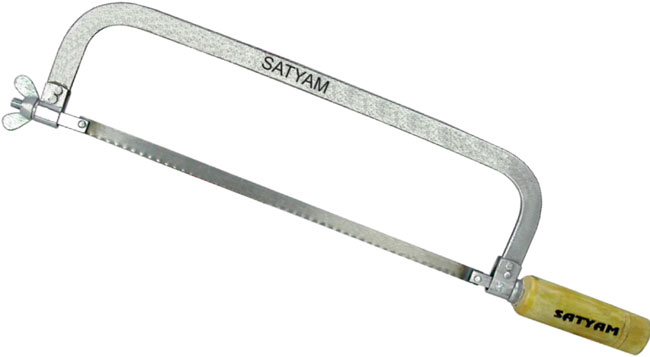
Once we have the appropriate shape grind cuted of edges clean our plate under the tap. Take ordinary sponge, dish soap and scrub gently laminate. Wipe it with a clean cloth. At the end wipe it with a handkerchief soaked in solvent. Then try not to touche laminate with fingers or make it contact with other dirt.

Thermal transfer from paper to laminate. Personally, I think it’s the hardest part. We put our printed project on the board reversed to its direction. I use two alligator clamps to catch cards on the corners. Turn iron and if it has regulation turn the heat to the fullest. In many guides I’ve read that the temperature should be not too big and not too small. However from my experience, it shows that the higher the temperature, the better the results. Nonetheless, I tested only two irons. This is a task suited for old iron types which know how to properly heat. We press iron to the paper and walk over it until it reaches a dark yellowish color. This point can fail a few times so do not give up.

When we feel that the result is satisfactory put board into hot water and wait for a few minutes. Then take off the paper layer from board slowly and gently. The entire path should be reflected on the board. If somewhere there is a slight lack. It can improved with special marker to pcb or later we can connect two lines with soldier (pen in my opinion works quite poorly). If, unfortunately, a large part of the toner is not stuck to the board we have to take the solvent and wipe the toner from laminate and start the process again using the same laminate.
If we have succeeded, we are close to good ending. Possible there are here and there pieces of paper on the board, let’s remove it. We must now etched our board. There are some specifics for this. Most common are sodium persulfate B327 and iron trichloride. Personally, I used the iron trichloride. We need a plastic container which will house our board, eg. boxes after ice are ok. It’s important that we don’t use metal containers. Pour iron trichloride in a ratio such as is described on the package in such way that after adding the water whole board wull be submerged. Pour hot water and mix together ingredients. Put board in. The higher the temperature, the faster our board will be etched, if we additionally shake the container a little then process will be even faster. However, nothing stands in the way to just put board in it and come back after a good movie. If iron trichloride is new and water hot (do not use boiling water) the process should not take more than a few minutes. If, however, etchant lied on the shelf for a few days, a decent movie will definitely be a good idea.
Let remember here about safety. Iron trichloride is a very caustic substance, and we should be careful with it. We should have some goggles so substance would not get to our eyes and gloves on hands. Also, when we put the board into the fluid use pliers or other tools. Do not put our hand to solution. Also, do not inhale the vapors they are harmful. Airing room is not a bad idea.
After finishing the process we should have a beautiful board without copper and with black lines. Toner secured copper before etching, through which current can flow as we would like to. It remains for us to wash away the toner take a handkerchief with solvent and wipe the board. We already have a PCB with beautiful copper paths. Remains making drill holes.
I use such tool:

Try to drill a nice vertical lines so all IC would fit well. Be careful that our drill does not hit the track. If we have small tracks they are easily damaged. Personally, when I did a board with small paths applied a piece of sponge on the end of the drill.

Finally, it remains to add components and solder them. Personally, I recommend for IC to use such IC support. They are easier to solder and you do not have to worry about burning IC. It’s good to cover the board with rosin it makes it much easier to solder and protects the entire system for the future:

Ready project may look like this:

Double Sided Boards
Bit more advanced version are double sided boards. Board dose not differ in any way except for the fact that the laminate is placed on both sides giving us more space for tracks. Some additional difficulties may constitute an equal application of printing on both sides of the board. A good way is to print both schemes and with the help of light bulb impose both schemes so they match. Then stapler cards in place. Beetween both pages put board.

An additional problem is the fact that the current must pass between layers. In this case, simply put a thin wire and solder it to the paths on both sides. If one path is under IC and must be soldered to its feet I can not imagine doing this without listed below IC Support, they have a higher leg thanks to which we can reach them with soldering iron. The rest of the process is identical, few steps must be repeated twice.

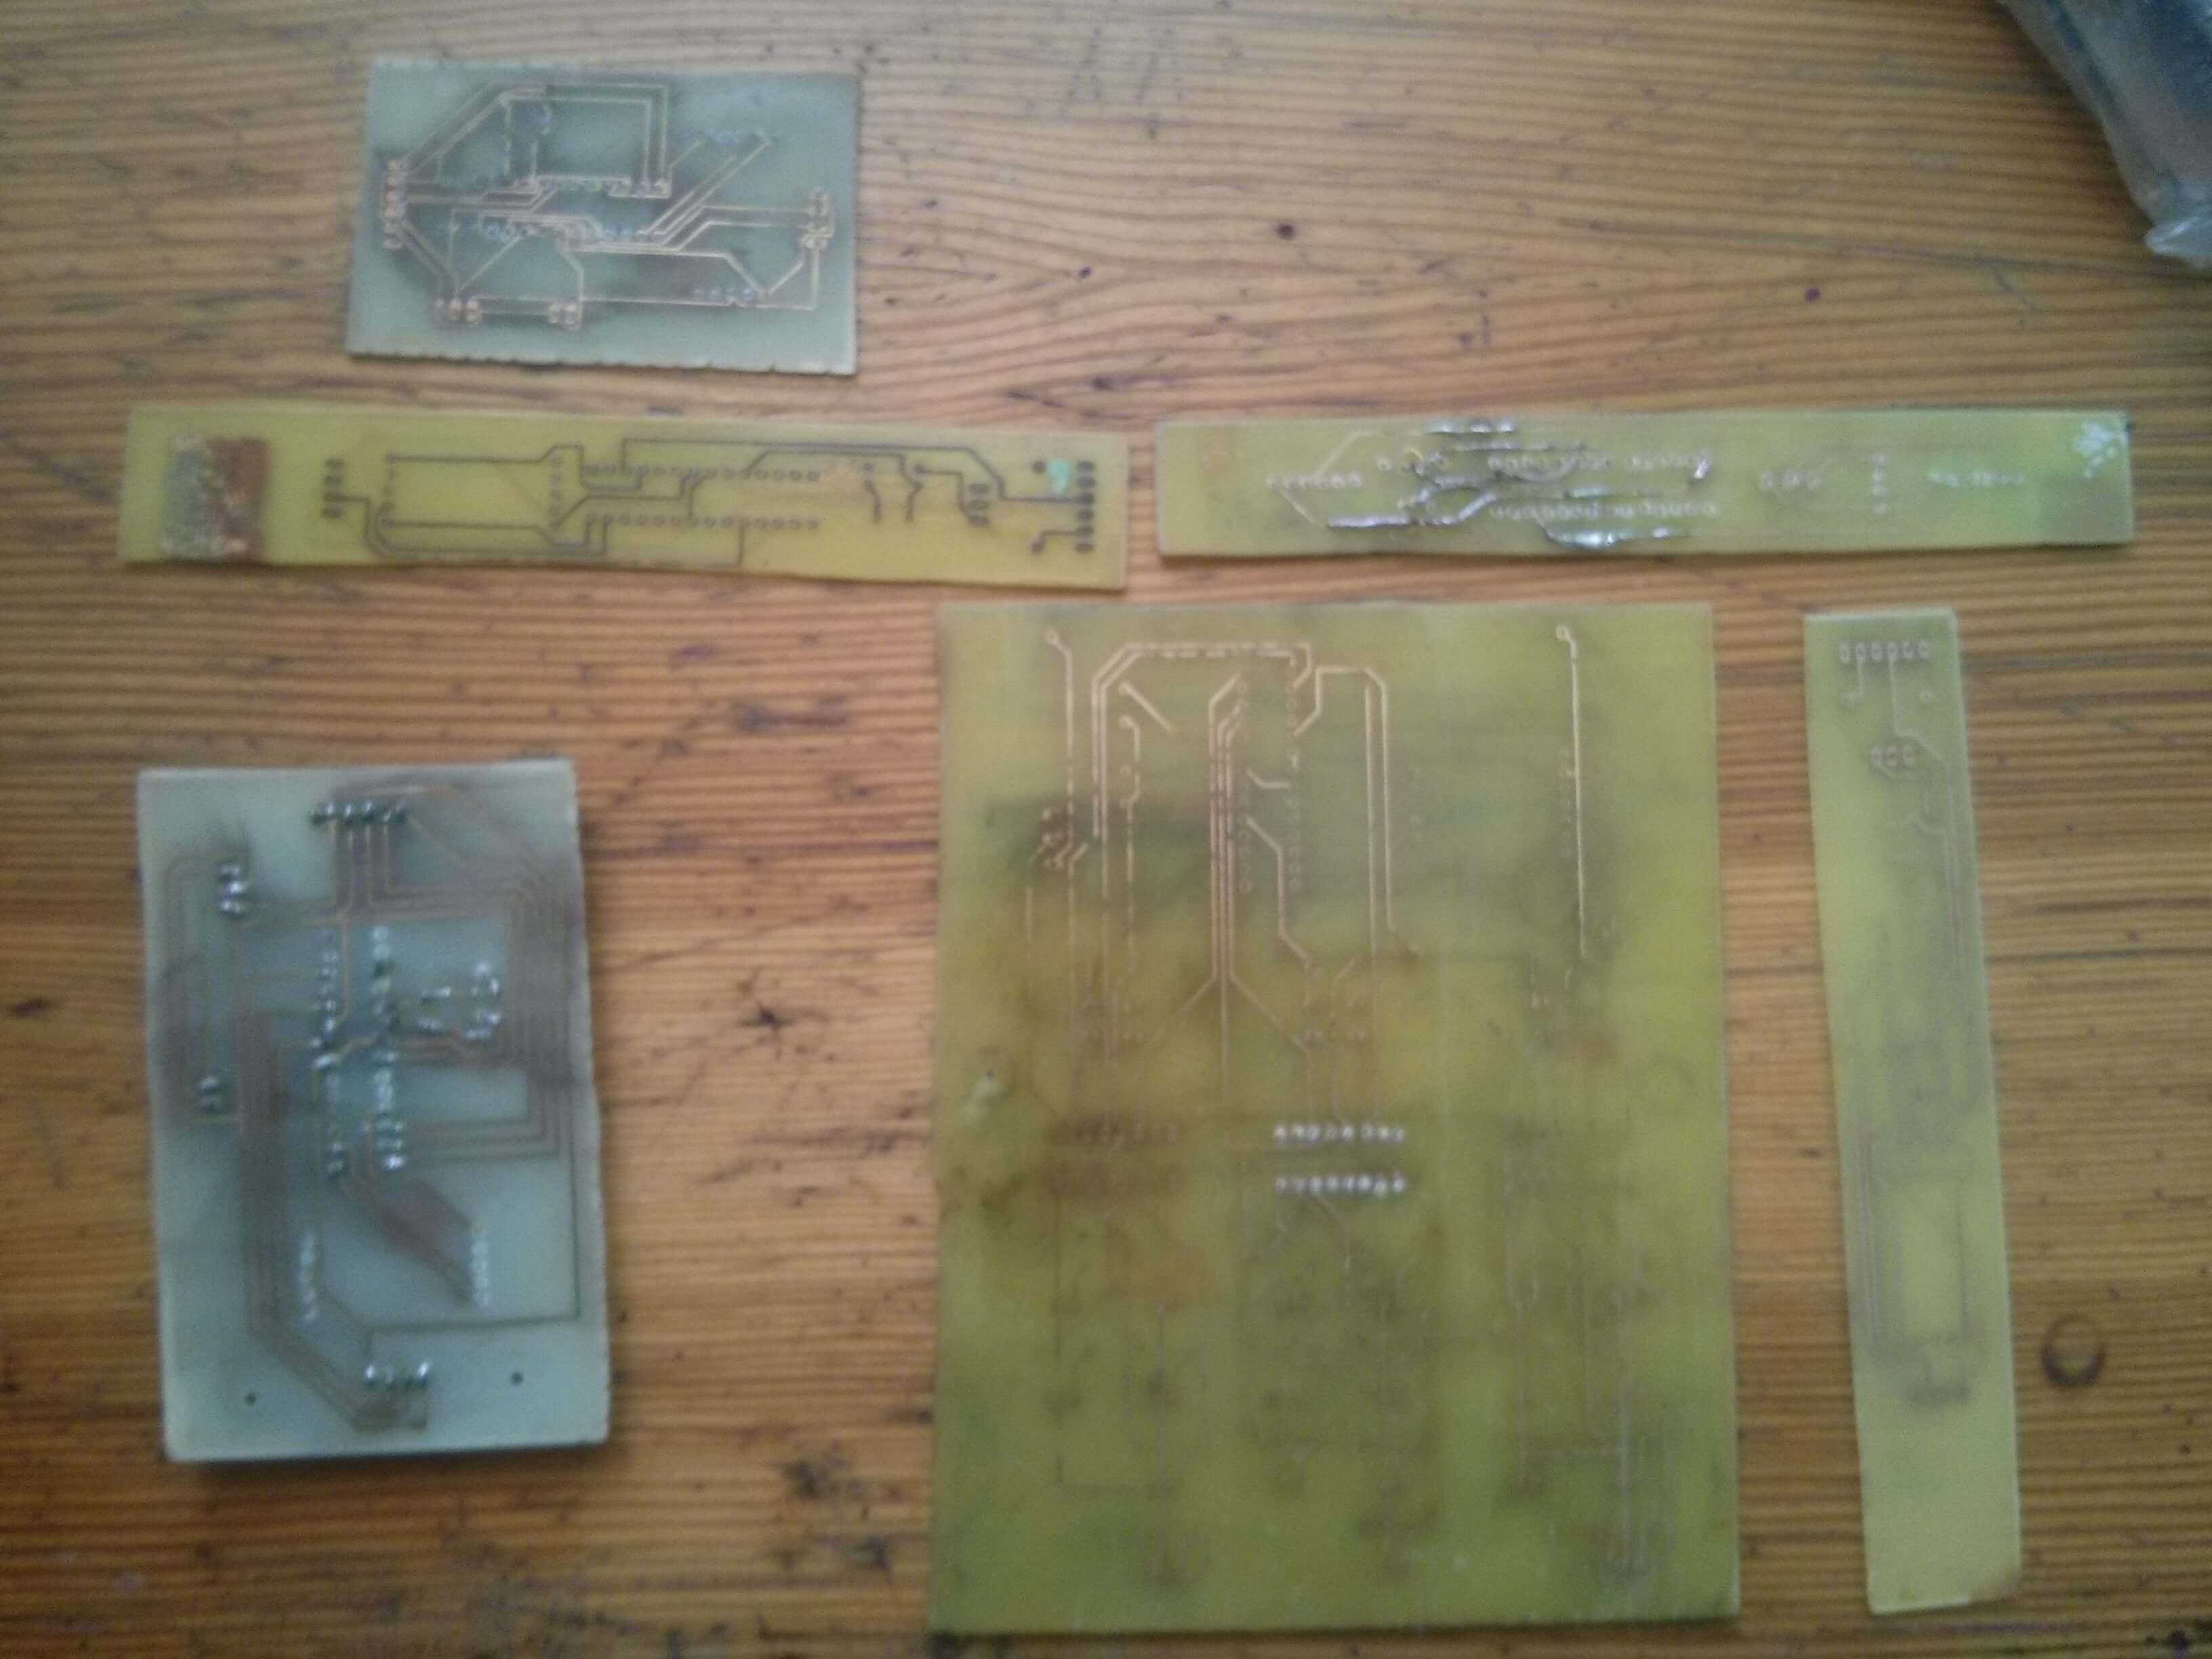
The most important thing is that we not get discouraged. It’s easy to make a mistake by a lack of knowledge and experience or just not enought attention. Here is a small collection of boards which nowdays serve no purpose 🙂
Hey! I just wanted to ask if you ever have any issues with hackers?
My last blog (wordpress) was hacked and I ended up losing several weeks of hard work due to no data backup. Do you have any solutions to protect against hackers?
Hi, to this time I didn’t have problems with hackers and I don’t use many additional security solutions besides those build in WordPress. I would recommend updating WordPress regularly and making backups. For backups I could recommend Duplicator plugin (https://wordpress.org/plugins/duplicator/) It makes an exact copy of WordPress page, including themes, plugins, databases and so on. Installing Chap Secure Password Login (https://wordpress.org/plugins/chap-secure-login/) could also help. It encrypts password while login to your WordPress page so stealing it would be much harder. Plugin for limiting login attemps seams reasonable too. There’s probably many more good solutions to rise security of WordPress site, but I think that making regular backups and saving it on a hard drive or on the cloud is the most important part.