


Arduino is a very interesting device through which we can build a lot of unusual electronic designs. The cost of original device such as Arduino Uno is about 25$ and even if we decide to buy Chinese substitute rarely wewi;; be able to find anything with price lower than 5$. For many projects this may be already suitable price, but with all the options offered by Arduino Uno we usually only need what gives us a main component which is microcontroller and it’s price and size is not large.
Microcontroller atmega 328P-PU costs about 1,5 USD from eBay, while usually we dont have to pay for delivery. There are many microcontrollers. They differ mainly in size, amount of available pins, memory, speed and price. Personally, I recommend microcontroller atmega 328p-PU which is the basis for the Arduino Uno and a smaller counterpart ATiny13A which is one of the smallest microcontrollers manufactured from Atmel. However, if you need microcontroller with unusual parameters you can use manufacturer website where it is posible to compare more than 600 different microcontrollers https://www.atmel.com/selector.html
Regardless, however on which microcontroller we decide he must have loaded appropriate software called bootloader. Often sold microcontrollers already have uploaded the bootloader. However ordering completely clean microcontroller will save us a few cents, and in addition, not once have I bought on ebay microcontrollers that should have loaded the software, but ultimately this issue had to be take care by myself.
Jako że niedawno doszła do mnie dostawa nowych mikrokontrolerów postanowiłem stworzyć krótki instruktaż jak wgrać taki bootloader na mikrokontroler 328P-PU
As recently came to me delivery of new microcontrollers I’ve decided to create a short tutorial on how to upload bootloader to 328P-PU microcontroller
We will need:
Arduino Uno
Atmega 328P-PU
16 MHz crystal
2×22 nf capacitor
Let’s create a simple scheme like in the following diagram:

Below is a diagram for atmega 328P-PU pins as we can see pins 7,20 and 21 are connected to the +5V power supply. Pins 8 and 22 are grounded. Pin 1 atmega allows you to reboot the device and is needed for us to burn bootloader. To pins 9 and 10 we connect crystal and two capacitors and ultimately grounding them, so that the clock of our microcontroller works properly. Pin 17 is MOSI. MISO pin 18, pin 19 SCK. Those pins are used for SPI protocol. SPI protocol allows to communicate between two microcontrollers. Those two microcontrollers work together in a master-slave relationship. MOSI is responsible for the transmission of information from the master to the slave. MISO transmits information from the slave to the master. SCK is a clock for data synchronization.

Photo of created circuit:

If we have everything properly connected lets start Arduino IDE and connect our arduino board to USB.
Select file->Examples->11.ArduinoISP-> ArduinoISP

Upload this example on board

Next in tools→board select arduino uno

Set tools→ programmer → arduino as isp

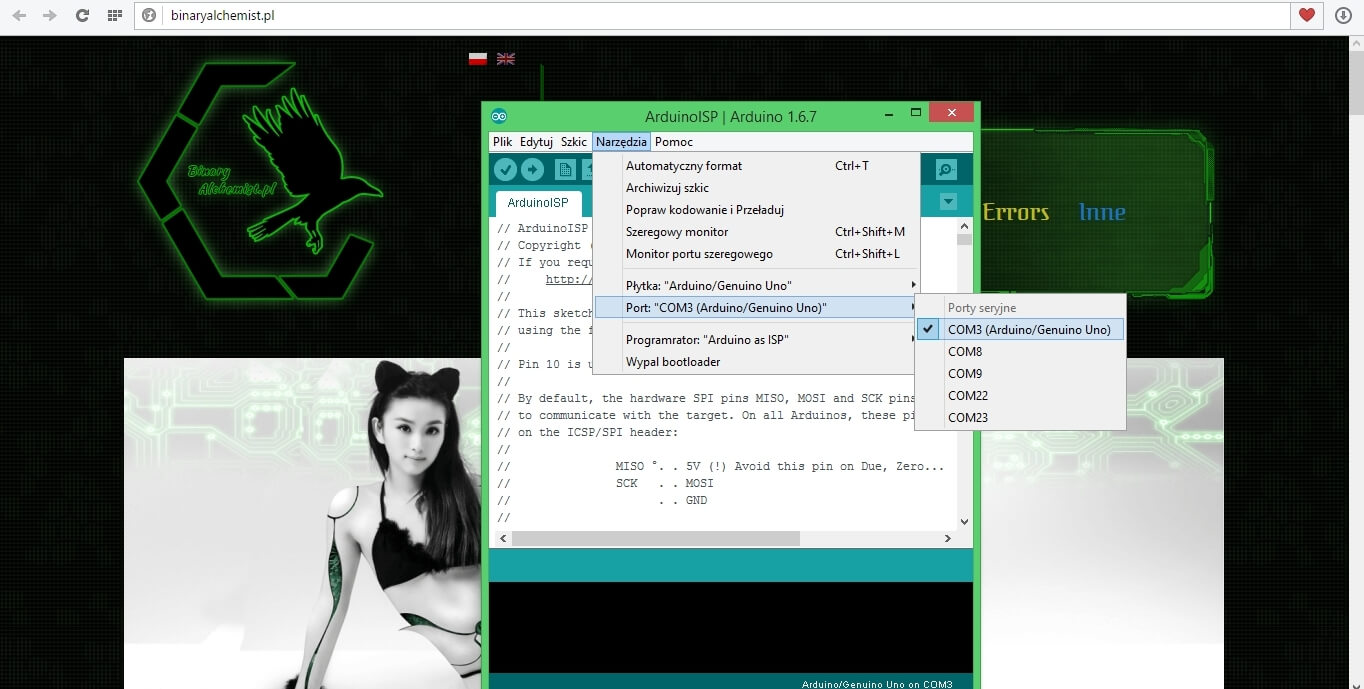
We make sure that that correct port is selected tools → port → our port connected to arduino board
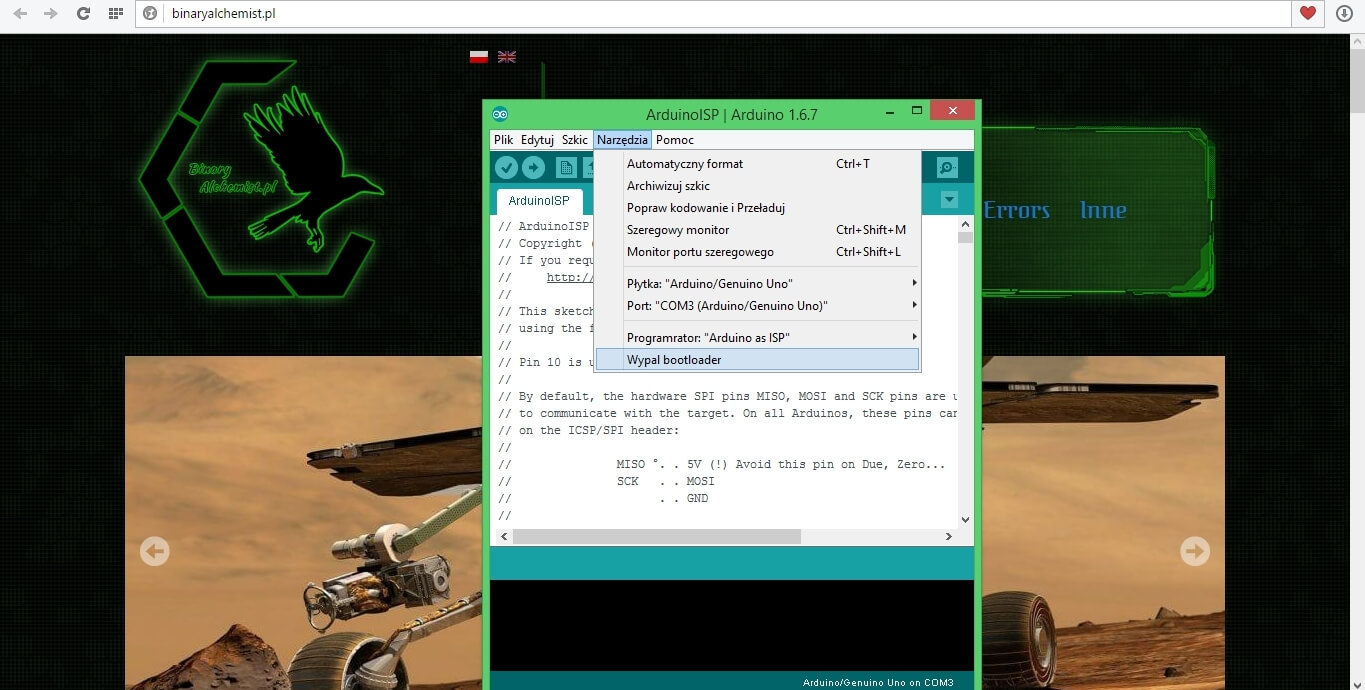
Burn bootlader tools → burn bootloader
And thats everything we need to have microcontroller with uploaded bootloader that can be used in almost any project.
szacun wreszcie jeden mądry co potrafi opisać jak trzeba
Autor jest Wielki.
Popieram poprzedni wpis.